
I’ve played different kits over the years, constantly evolving the set-ups of each. My current kit began as a basic five-piece Pearl set. I first added a second floor tom, then later two more rack toms. The added drums were black, while the original five were burgundy.

I reached a point where I wanted them all to be the same color, but actual drum wrap can get expensive, especially for an 8-piece kit. I did some research and put my mind to using simple vinyl adhesive. That’s what I did, but there were many time-consuming and annoying steps to get the finished product to look how I wanted it to. WARNING: this project will likely take longer than you predict. It took me a few weekends to get it all done. It takes longer the more drums you have, but it’s no quick process.
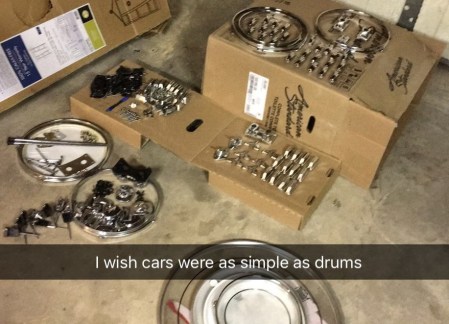
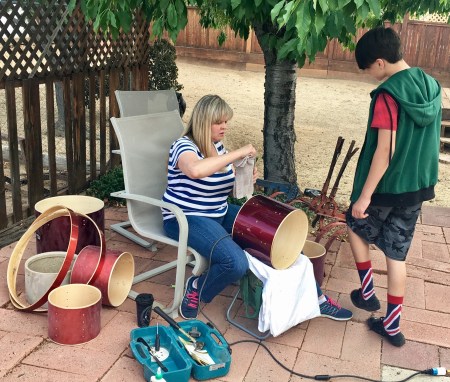
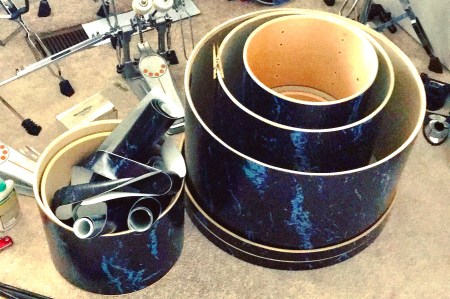
Step One: Take everything apart, and try to keep it organized. This isn’t even close to all the parts and pieces I removed.
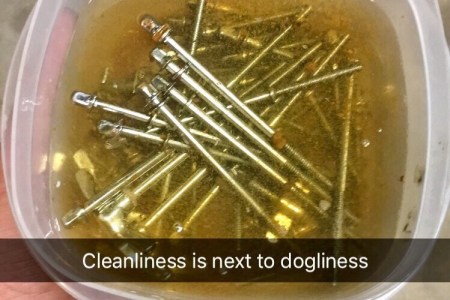
Step Two: Soak any rusty bolts or parts in a 4:1 solution of either vinegar or bleach to water. Rinse and repeat if necessary.
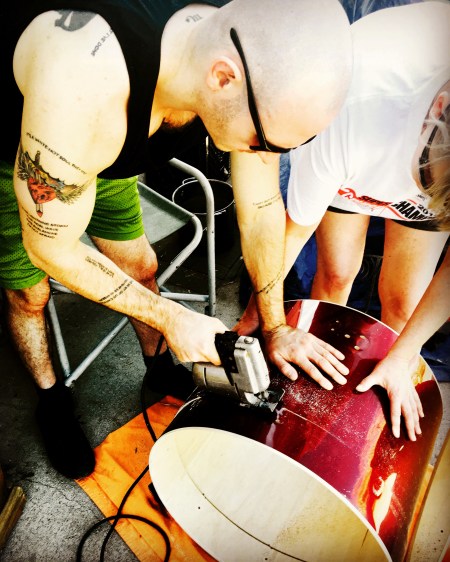
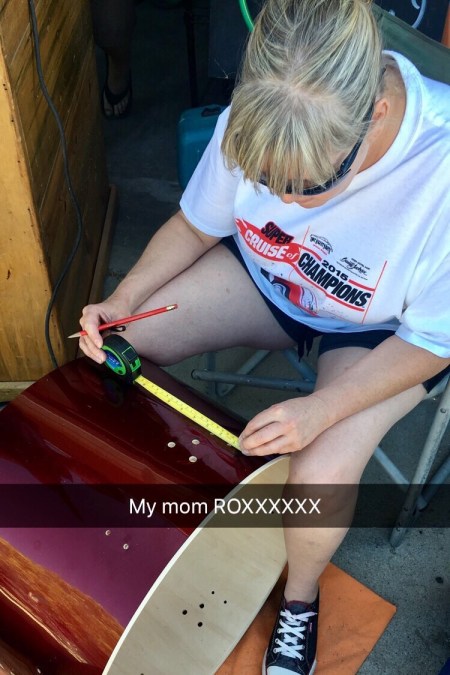
This next step is completely optional and probably unnecessary. I cut about four inches off my bass drum for a couple reasons. One: shallower shells make deeper tones. Two: it gave me four inches of space for setting up – which, if you have to fit your kit in your room, or if you’ve ever played a small stage, you understand how much difference four inches of area depth can make. This was done with a stable pair of hands and an electric jigsaw. First make simple and accurate measurements, then draw a cut line and follow it. It helps to have one person hold the shell steady while another cuts. Mi madre is super into woodworking projects, so she helped me out a lot with this project. (That’s her jigsaw I’m using.)
Step Three (optional): Cut down any drums you want shallower.
If you elect to cut any of your drums, keep in mind that you will have to mark and drill new holes for hardware like lugs, legs, or mounts. Just maintain the same distance from the outer edge and you’ll be golden.
Step Four (if you cut): Drill new hardware holes.
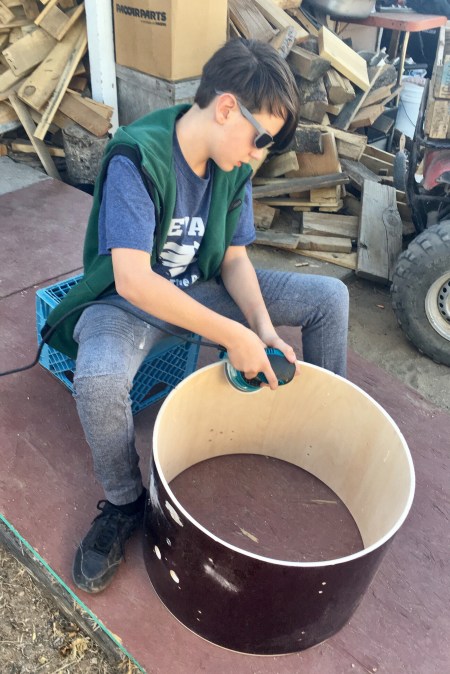
Step Five: Smooth out the edges with an electric sander. It takes a while with the electric one, so don’t even try to sand it by hand. It’s simple enough that my son Jack did it.
When it comes to this next one, you’re going to have to sand the outer shell no matter which way you decide to go. You can either take off the existing wrap and sand through all the leftover, gunky adhesive, or you can do what I did and just keep the original wrap on for added shell protection and sand the actual wrap. It needs to be as smooth as possible for the new wrap to properly stick to it.
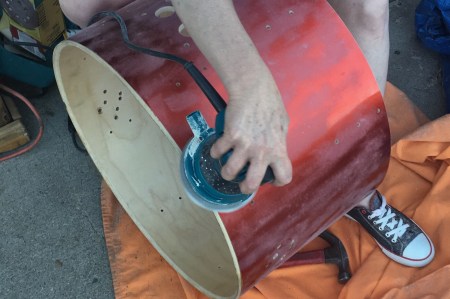
Step Six: Sand the outer shell.
Now while all this sanding is going on, you may want your lugs and rims to be all one color. Possibly something other than the standard chrome. This means spray painting and leaving the hardware to sit while you attend to the shells. WARNING: this will affect the sound of your drums, but I personally found it to be a favorable one.
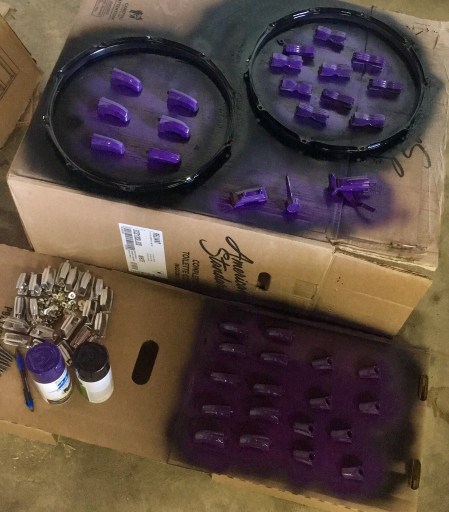
Step Seven: Paint the hardware.
Sanding the outer shells on its own doesn’t quite get them ready for new wrap. There are likely oils and residue that will disrupt the adhesive. To save yourself the trouble of finding that out the hard way and wasting perfectly good drum wrap, scrub the sanded shells with a wood-friendly cleaning solution such as vinegar or potentially Goo Gone.
Step Eight: Clean the shells with a 4:1 vinegar solution or, if needed, something more aggressive like Goo Gone.
Your work space will become quite a mess, so make sure you have room for that mess. It will be there for days, perhaps weeks.
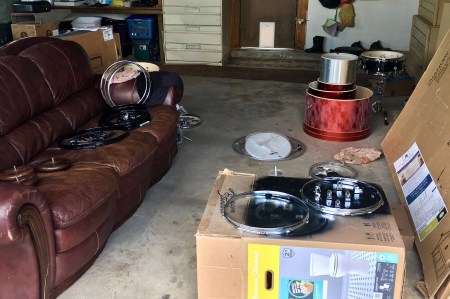
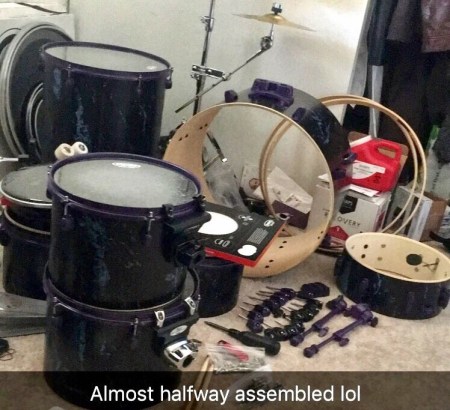
This is what the UPS guy saw when he delivered a package.
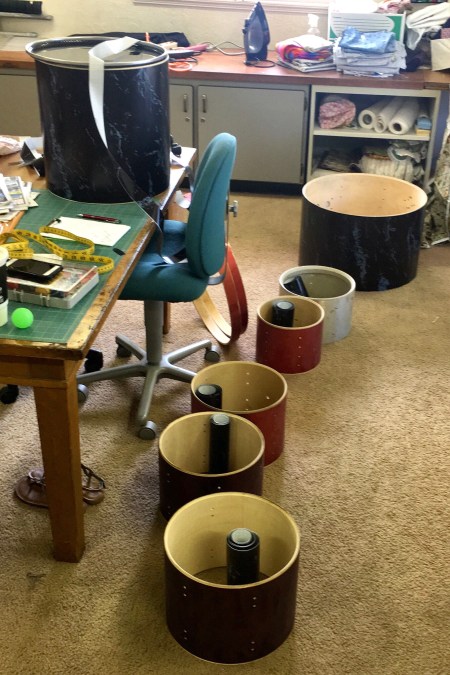
Some of these toms use the same head size, but vary in depth, thickness, and types of wood – all of which have different effects on the sound they produce.
Step Nine: Measure and cut the wrap to fit the shells.
Now just take a tape-measure and measure the depth and circumference of each shell. Be sure to go over about two inches for the circumference length. It helps to place the cut wrap with its corresponding shell.
Step Ten: Wrappa da bass, mon!
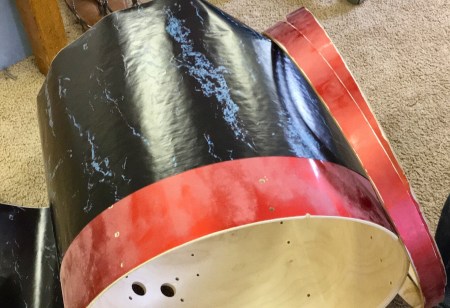
When you wrap a shell, it reaaally helps to have two people. It is critical for one person to hold the shell tightly and steady while another person slowly and meticulously sticks the new wrap to the shell. Be ever-vigilant for bubbles; they are the enemy. Too many bubbles means one of two things: you either didn’t clean the shells well enough or you’re stretching the wrap. If you find some bubbles are simply unavoidable, it is fine to just stick the wrap down and cut through the bubbles. These things are inevitably going to be scratched anyway, and no one will notice.
Eight shells all wrapped up!
You can choose virtually any self-adhesive vinyl for your drum wrap. I legitimately went with black marble counter-top cover. It’s more difficult to find in stores these days. I was able to get a killer deal on Amazon. Something like $10 for 18″ x 20′! This kit used almost two rolls.
YOU ARE NOT DONE! Step Eleven: “RE-AS-SEM-BLE! Reassemble, Stephanie!”
Yeah, that’s a Johnny 5 quote. I was a dope little kid. Putting everything back together will take quite some time in itself. Just think about tuning your entire kit. Drummers don’t have to tune every single hour like guitarists and bassists, but when we do, it sure as Hell makes up for it. This probably took me the longest amount of time, even though it’s the most straight-forward.
I would like to take this moment to plug Aquarian in here. I’m not getting paid for this, but I highly recommend that every serious drummer invest in an Aquarian Super Kick II bass drum head. This thing is amazing. It’s perfectly self-muffling via a built-in foam ring. If you’re like me, you’re tired of adjusting your pillow inside every time you set up at a different gig. You will never have to do that again, and your bass will sound great.
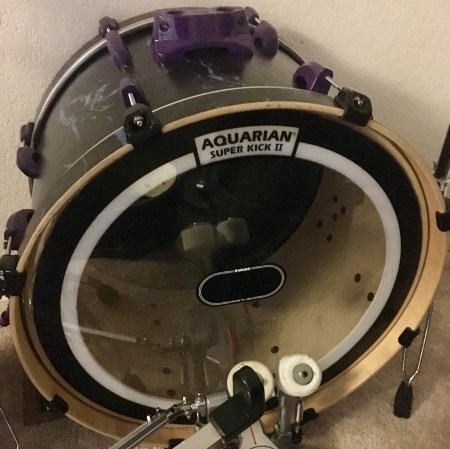
The Aquarian Super Kick II is worth every penny. No pillows ever again!
When you do finally get your drums sounding right again and all set up… it’s just a fantastic feeling. RISE, PHOENIX! FROM THE ASHES AND LIVE AGAIN!!!

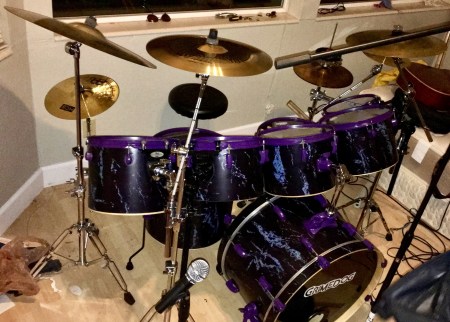
BEHOLD, MORTALS! My rebuilt and refinished 8-piece drum kit!